
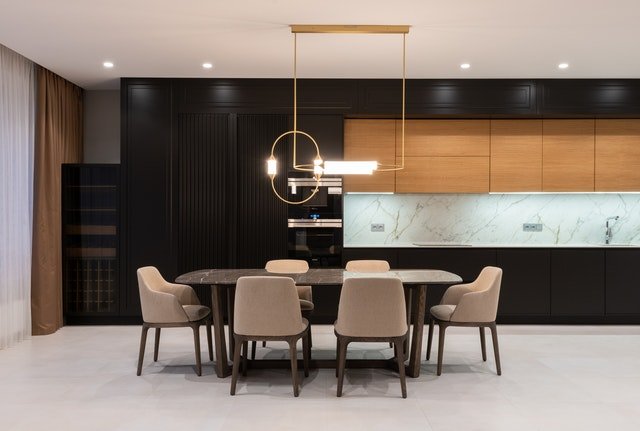
Few homeowners would say no to new kitchen cabinets. However, when you consider the expensive cost of buying cabinets, renovating your old cabinets seems appealing. Spray painting kitchen cabinets is one method to give them a dazzling, new look at a fraction of the expense of buying new. Best of all, instead of being confined to the few stock color options given by the cabinet maker, you now have access to the full color spectrum.
Tools and Materials
- HVLP (high volume, low pressure) paint sprayer
- Cordless drill
- Screwdriver with Phillips' head
- Zip-Loc type bags
- Painter's tape
- Sheet plastic
- Canvas dropcloth
- Trisodium phosphate (TSP)
- Wood putty
- Random orbital sander, such as a Black & Decker Mouse
- Tack cloth
- Paint primer–either white or tinted to match your color coat
- Latex enamel paint
- Fan
What You Can Expect
Paint Sprayer vs. Spray Cans
It's tempting to pick up some spray paint and use it instead of a paint sprayer—but you can start painting your cabinets with a durable modified alkyd paint that comes in a variety of 75 to 100 color options without needing to buy a sprayer. However, because one can of spray paint only covers 20 square feet, it is only a realistic option for painting one or two cabinets. When compared to sprayed-on latex paint, painting a full set of cabinets this manner would result in much higher expenses.
It is recommended to buy, rent, or borrow a paint sprayer to paint a whole kitchen's worth of cabinets. Whether you use a less costly "cup style" paint sprayer that holds 1.5 quarts or a more expensive kind that draws straight from the paint can, either will be less expensive and less wasteful than spray cans.
Painting Method
The more cabinet parts you remove from the kitchen and paint elsewhere, the better the outcome. No matter how carefully you sheet off the kitchen, it is impossible to keep paint mist under control. Furthermore, painting on horizontal surfaces makes it simpler to produce a smooth, drip-free surface. You should, at the absolute least, remove the cabinet doors.
Preparation
Preparation
1. Clear the space and transfer any goods from the cabinets to a separate clean location, such as a rear bedroom or basement. Take off the contact paper from the shelves.
2. Dismantle the cabinets. Begin by removing the cabinet doors and drawers. Remove cabinet hardware (handles, knobs, etc.) and hinges from doors and drawers and store them in plastic bags. Mark the position of each bag with a Sharpie. If you can, remove the cabinet boxes right now. Removed goods should be placed in a spray location, such as a clean, dry garage, big workshop, or beneath a covered patio.
3. Mask any sections in the kitchen that you do not want painted using sheet plastic and painter's tape (walls, counters, floors, appliances, etc.). Because it is not slippery, a cloth dropcloth is preferable to plastic sheeting for flooring.
Clean, sand, and patch
1. Using a random orbital sander, lightly sand all surfaces using fine-grit sandpaper. The objective is to reduce the shine rather than to remove all coatings and paint coats. Be extra cautious while sanding thermofoil-coated cabinets, since this micro-thin coating may tear off if sanded too forcefully.
2. Warm water and TSP should be used to clean any surfaces that will be painted. The areas surrounding the stove and oven will be extremely oily and require extra care. Allow everything to dry completely.
3. Wood putty can be used to repair cracks and small holes. After the wood putty has cured, sand it down.
4. To remove any remaining dust, use a tack cloth one last time.
Prime and Paint
1. Because of the possibility of paint flaking, cabinets must be primed. One fantastic primer tip is to ask the paint retailer to tint the primer (which generally comes in a white or base color) to match the color of your paint. This results in a richer, more true-to-life color register in your paint finish.
2. Proceed to your spray zone. To remove air from the spray area, turn on a fan.
3. After the primer layer has completely dried, apply the first color coat. Be slow and light on your feet: rushing spray paint results in drips and spatter. Spray down cabinet doors and drawer fronts in a medium-sized kitchen should take around 60 minutes. Repeat at least one more, allowing at least 4 hours between coats.
4. Cabinet boxes are a different story. Bring the sprayer into the kitchen and lightly coat the boxes and stiles. You must exercise extreme caution since you are working with vertical surfaces, which are prone to drips. Apply a second layer after at least 4 hours.
Cabinet Components Should Be Replaced
1. Allow everything to dry completely. There is a risk of imprinting finger prints on paint that seems dry but isn't quite dry, so wait a full day before replacing cabinet boxes, doors, and drawers.
2. Replace the doorknobs, pulls, and handles when these components have been replaced.
0 comments